1. 배열에 항목 추가하기
(1) 우선, input 2개와 button 1개로 이루어진 CreateUser.js 파일을 생성한다.
// src/CreateUser.js

import React from 'react';

function CreateUser({ username, email, onChange, onCreate }) {
    return (
        <div>
            <input
                name="username"
                placeholder="계정명"
                onChange={onChange}
                value={username}
            />
            <input
                name="email"
                placeholder="이메일"
                onChange={onChange}
                value={email}
            />
            <button onClick={onCreate}>등록</button>
        </div>
    );
}

export default CreateUser;
// src/App.js

import React, { useRef } from 'react';
import UserList from "./UserList";
import CreateUser from "./CreateUser";

function App() {
  const users = [
    {
      id: 1,
      username: "fubao",
      email: "AiLu1.gmail.com",
    },
    {
      id: 2,
      username: "ruibao",
      email: "AiLu2.gmail.com",
    },
    {
      id: 3,
      username: "huibao",
      email: "AiLu3.gmail.com",
    }
  ];

  const nextId = useRef(4);
  const onCreate = () => {
    // 추가하고 싶은 항목을 여기에 작성하면 된다.
    nextId.current += 1;
  };
  return (
    <>
      <CreateUser />
      <UserList users={users} />
    </>
  );
}

export default App;

상태관리는 CreateUser 에서 하지않고, 부모 컴포넌트인 App 에서 하도록 만들고,
input 의 값과 이벤트로 등록할 함수들을 props 로 넘겨 받아 사용할 수 있도록 하였다.
(2) CreateUser 컴포넌트에게 필요한 props 를 App 에서 준비한다.
// src/App.js
import React, { useRef, useState } from 'react';
import UserList from "./UserList";
import CreateUser from "./CreateUser";
function App() {
const [inputs, setInputs] = useState({
username: '',
email: ''
});
const {username, email} = inputs;
const onChange = e => {
const { name, value } = e.target;
setInputs({
...inputs,
[name]: value
});
};
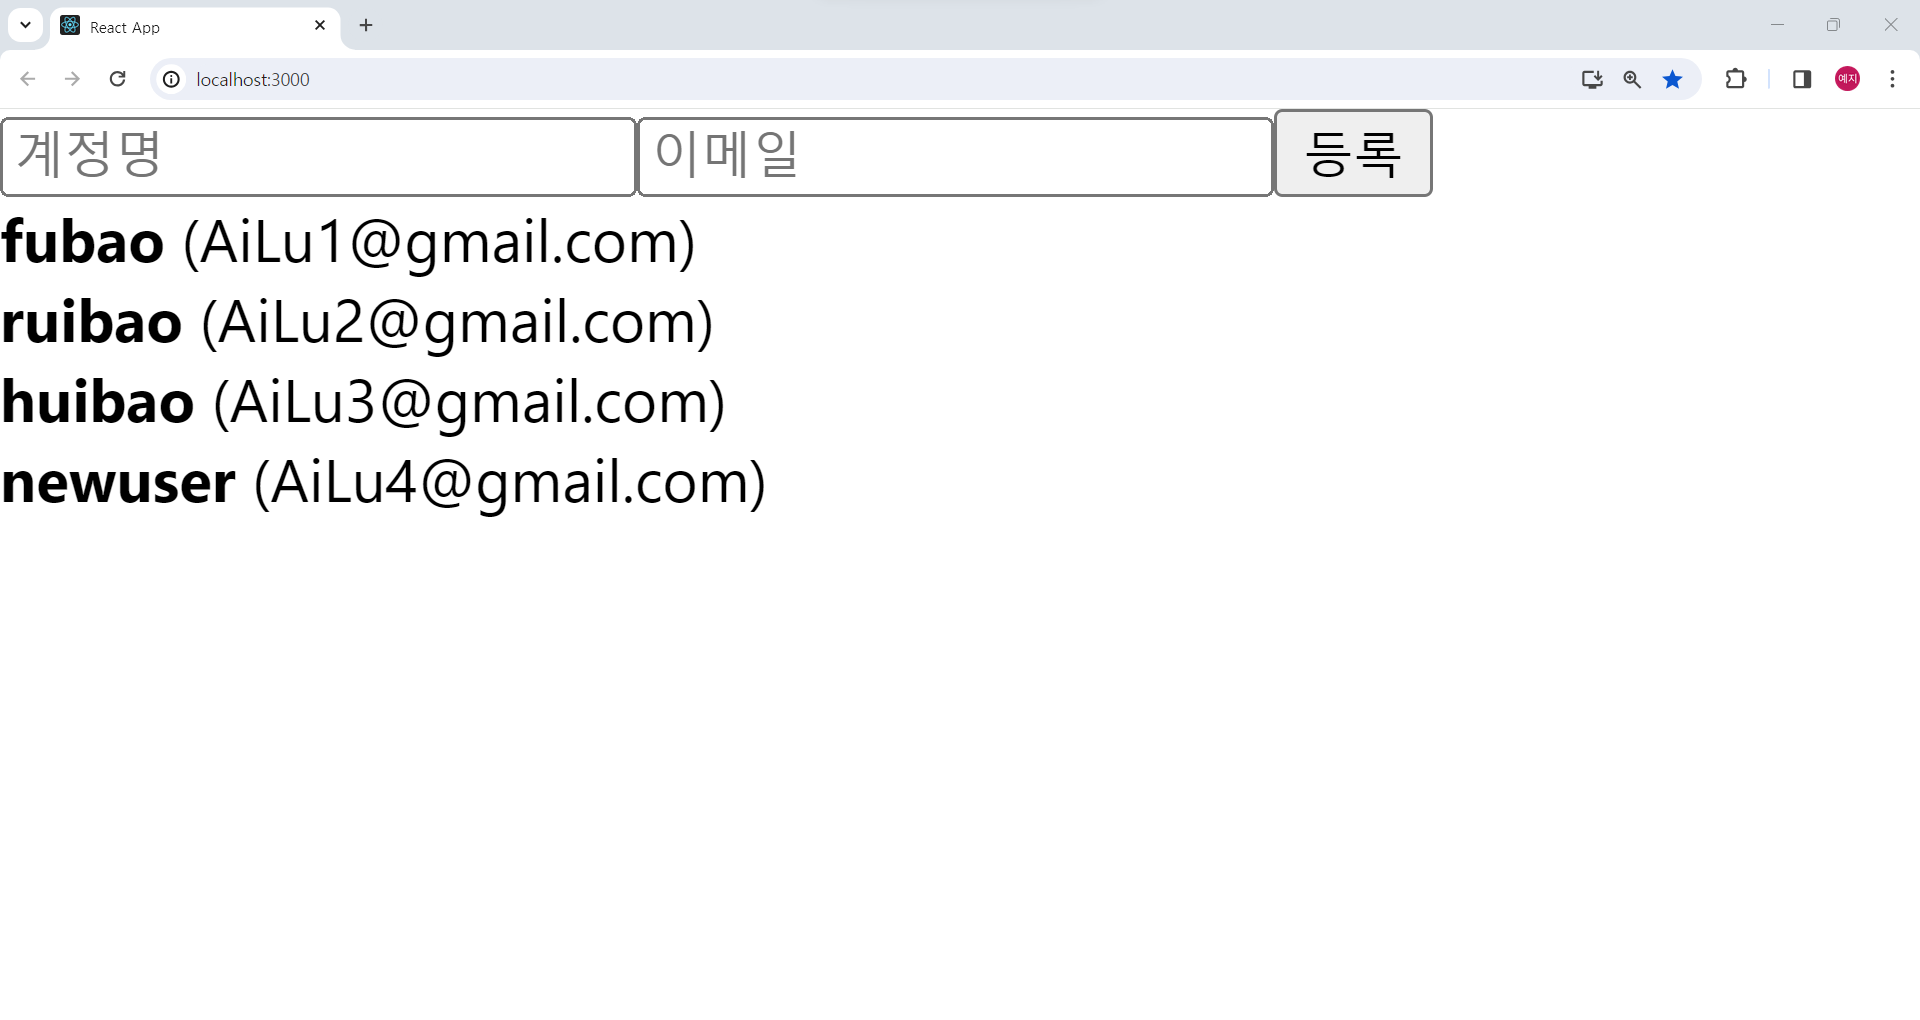
const users = [
{
id: 1,
username: "fubao",
email: "AiLu1.gmail.com",
},
{
id: 2,
username: "ruibao",
email: "AiLu2.gmail.com",
},
{
id: 3,
username: "huibao",
email: "AiLu3.gmail.com",
}
];
const nextId = useRef(4);
const onCreate = () => {
// 추가하고 싶은 항목을 여기에 작성하면 된다.
setInputs({
username: '',
email: ''
});
nextId.current += 1;
};
return (
<>
<CreateUser
username={username}
email={email}
onChange={onChange}
onCreate={onCreate}
/>
<UserList users={users} />
</>
);
}
export default App;
등록 버튼을 누르면 입력했던 값들이 초기화 된다.
(3) users 도 useState 를 사용하여 컴포넌트의 상태로서 관리해준다.
// src/App.js
// 배열부분만 아래와 같이 수정해준다.

const [users, setUsers] = useState([
    {
        id: 1,
        username: "fubao",
        email: "AiLu1.gmail.com",
    },
    {
        id: 2,
        username: "ruibao",
        email: "AiLu2.gmail.com",
    },
    {
        id: 3,
        username: "huibao",
        email: "AiLu3.gmail.com",
    }
]);
(4) 배열에 변화를 주는 2가지 방법
배열에 변화를 줄 때, 객체처럼 불변성을 지켜주어야한다.
즉, 배열에 push, splice, sort 등의 함수는 사용할 수 없다.
(4) 배열에 변화를 주는 2가지 방법 - ① spread 연산자 사용
// src/App.js

// function App 안에 나중에 추가할 예정이라고 비워둔 곳에 아래와 같이 입력해준다.

const onCreate = () => {
    const user = {
        id: nextId.current,
        username,
        email
    };

    setUsers([...users, user]);

    setInputs({
        username: '',
        email: ''
    });
(4) 배열에 변화를 주는 2가지 방법 - ② concat 함수 사용
// setUsers([...users, user]);

// 위 코드를 아래와 같이 concat 함수를 사용하여 수정해준다.

setUsers(users.concat(user)
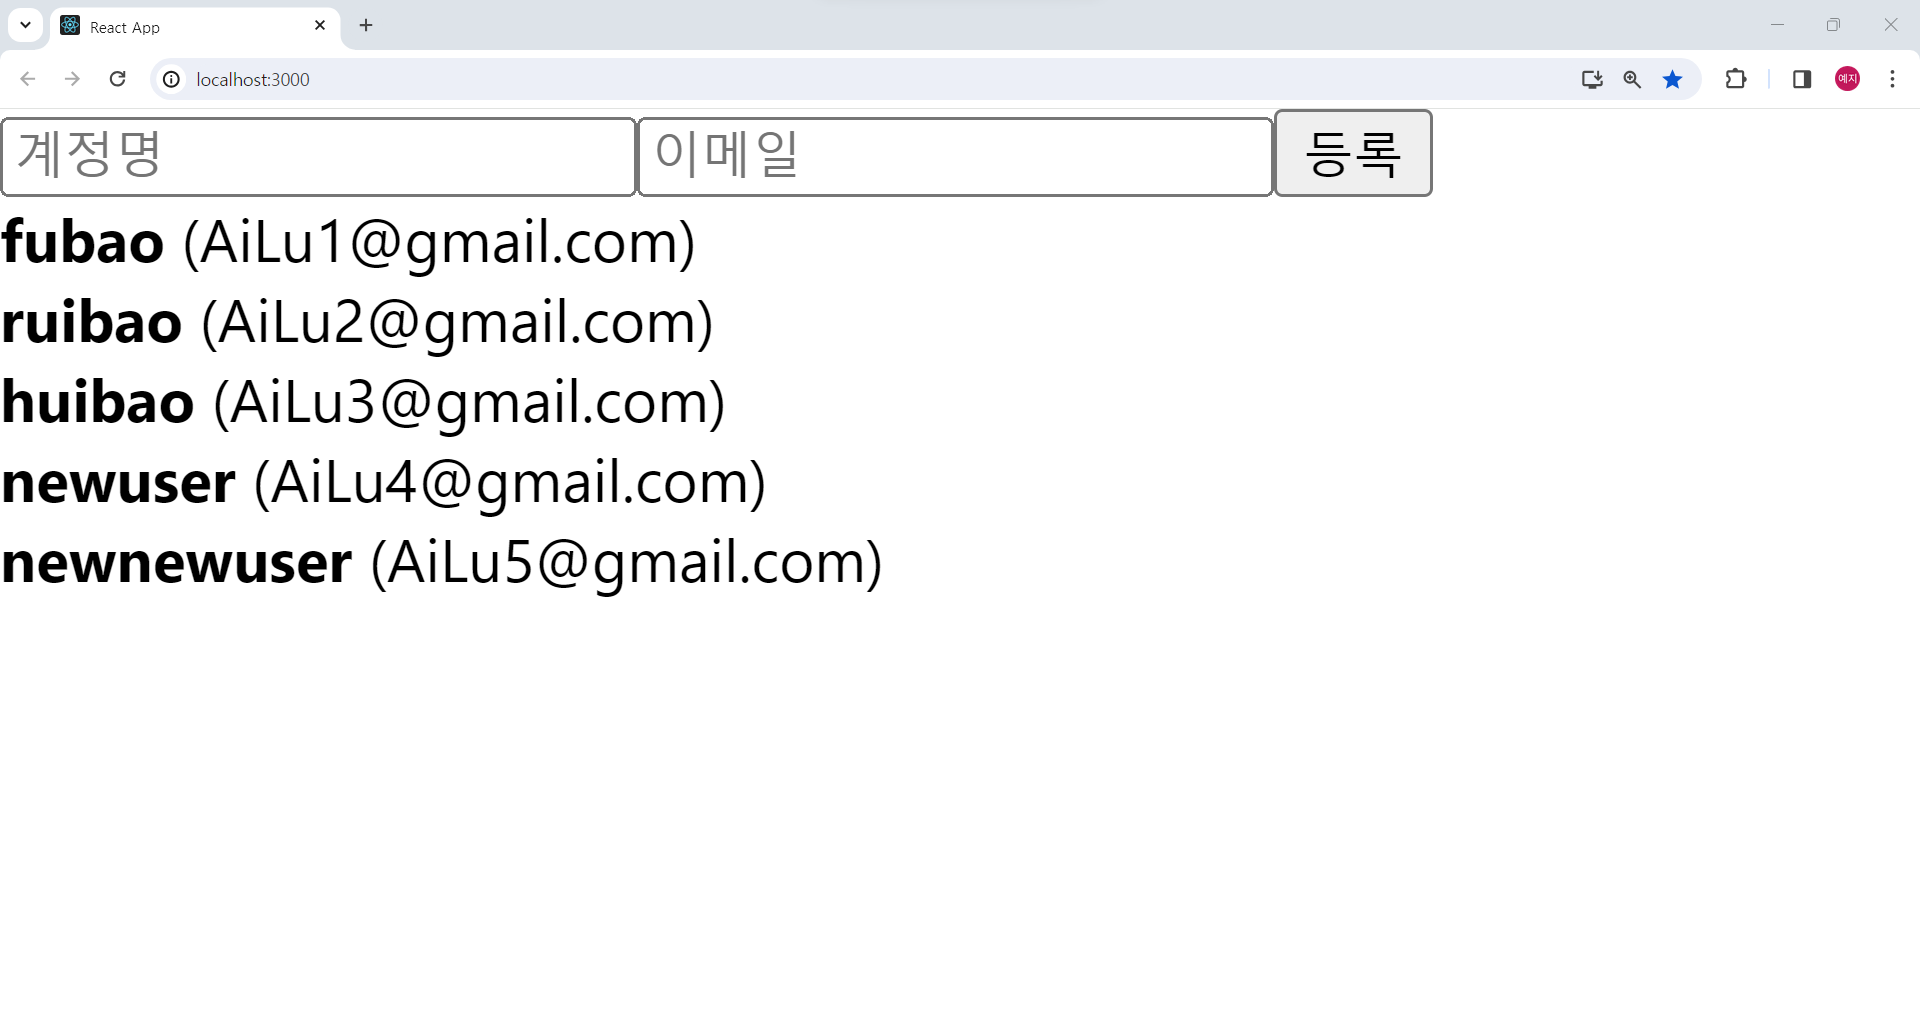
concat 함수는 기존의 배열을 수정하지 않고, 새로운 원소가 추가된 새로운 배열을 만들어준다.
'⚛️ React' 카테고리의 다른 글
| 9. map 함수 (같은 html 반복 생성) + 각각 숫자 플러스, 고유한 key 값 (0) | 2024.04.28 |
|---|---|
| 8. 모달, 이벤트버블링 방지 (1) | 2024.04.28 |
| 6. useRef 과 배열 (0) | 2024.02.28 |
| 5. 사용자가 입력할 수 있는 input (0) | 2024.02.24 |
| 4. 동적(useState) (0) | 2024.02.23 |